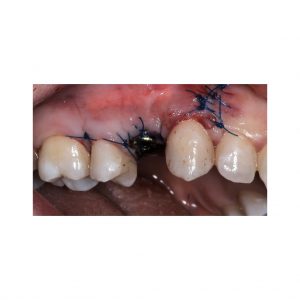
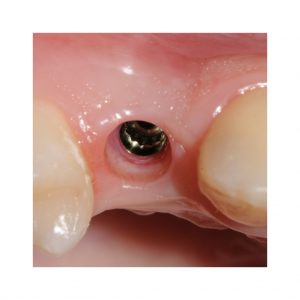
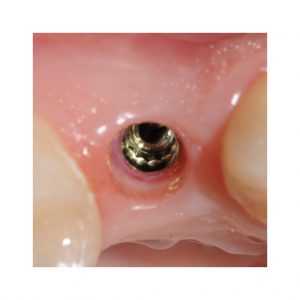
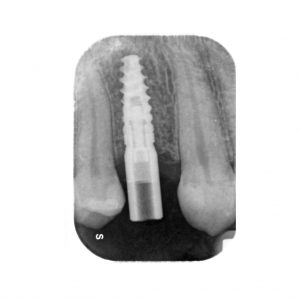
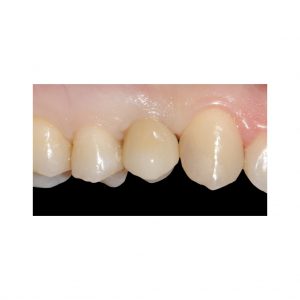
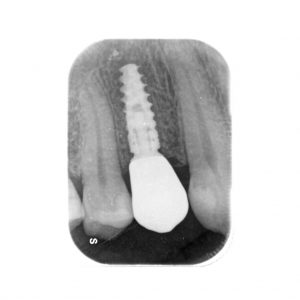
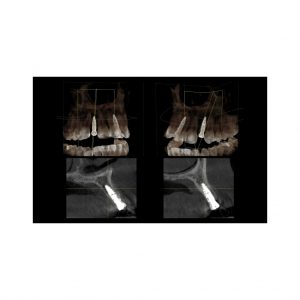
Post extraction implant on 14
(courtesy Dr. Nanni Malara – Vimadent)
Patient age: 33
Gender: F
Medical history: nothing relevant
CLINICAL CASE
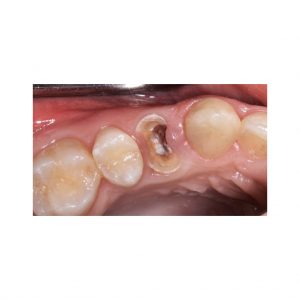
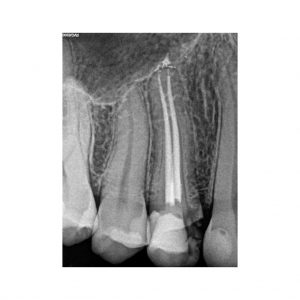
33 year old patient with fracture of element 14 already treated endodontically but never finalized prosthetically. Extraction is therefore necessary.
SURGERY
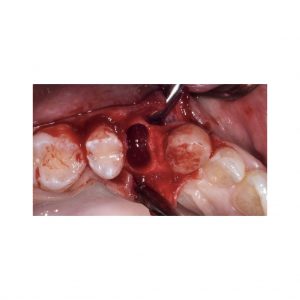
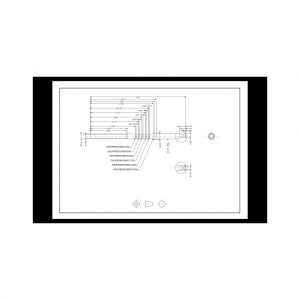
Once the root has been removed, the implant site is prepared by seeking primary stability in the palatal portion of the socket. The sequence of drills shown below includes a 13 preparation to ensure that the 11.5 implant is inserted below the level of the crest.
1- lanceolate drill (RL018)
2- pilot drill (RMB20 – stop 13)
3- pilot drill (RMB24 – stop 13)
4- pilot drill (RMB27 – stop 13)
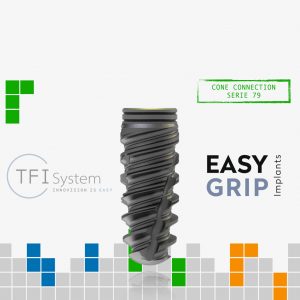
5- insertion of 79SN11 implant (3.75 x 11.5)
6- healing screw and suture
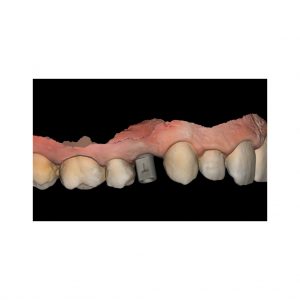
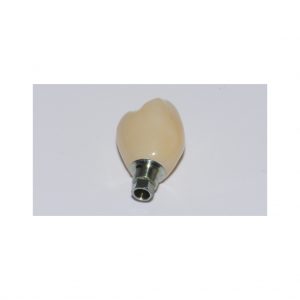
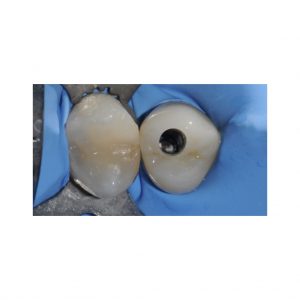
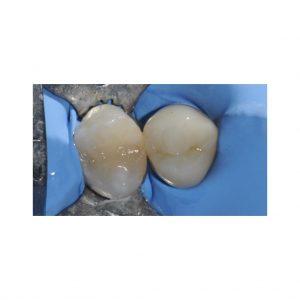
After 3 months, a digital impression is taken for the creation of a screw-retained zirconium crown. To correct the slight vestibular inclination of the prosthetic axis and ensure that the hole of the through screw reentered the occlusal surface of the artefact, a 17° angled screw (7VS) was used.
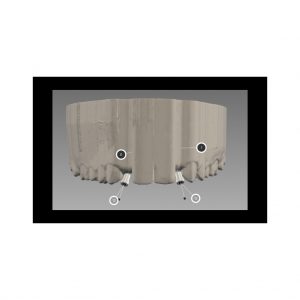
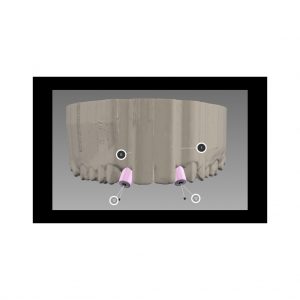
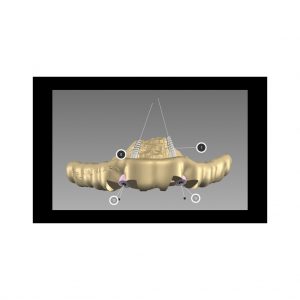
Guided surgery on agenesis 12-22
(courtesy Dr. Nanni Malara – Vimadent)
Patient age: 21
Gender: M
Medical history: nothing relevant
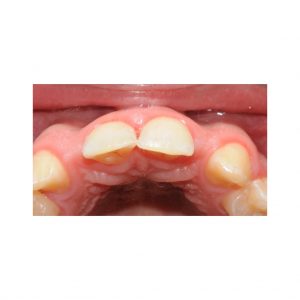
CLINICAL CASE
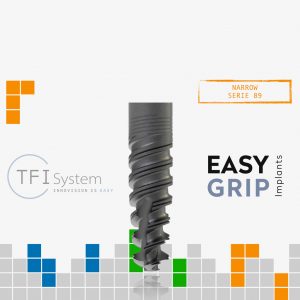
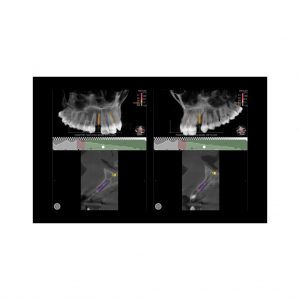
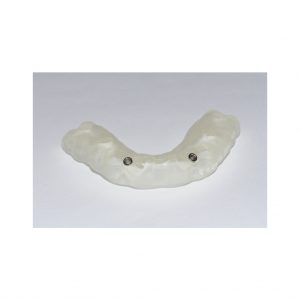
21-year-old patient who, having completed orthodontic treatment during puberty, requires implant-prosthetic rehabilitation for the agenesis of elements 12-22. On clinical examination the thickness of the soft tissues would suggest an equally adequate bone thickness but on the CBCT examination the edentulous areas show serious loss of volume in the vestibulo-palatal direction, due to the time elapsed between the end of the orthodontic treatment and the possibility of perform surgery, which is not compatible with the insertion of a traditional implant. It was therefore decided to proceed, through guided surgery, with the insertion of two Narrow implants diameter 3.0 x 11.5 (TFI EasyGrip – 89M11). Given the small space in the mesio-distal direction between the elements adjacent to the intervention areas, the template is designed with 2 Aesthetic type bushings (diameter 2).
SURGERY
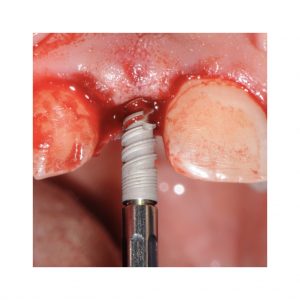
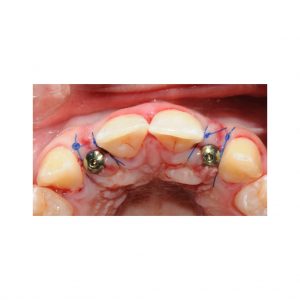
The surgical guide is created by providing a minimum opening of the flap, necessary to avoid reducing the thickness of the keratinized gingiva which would occur through a flapless preparation of the site. Once the template has been inserted, a single pass is performed with the dedicated Aesthetic drill up to the working length (bone D3), after which the template is removed. The insertion of the implants is done manually via a dedicated driver (IS2) hooked onto a long manual wrench (CL) with definition of the torque (50N) via a torque wrench (CUD80). Insert two healing screws height 4 (VG23-4) and perform the suture.
The prosthetic finalization will take place 3 months after the operation.


